
Kid Command Center
There is a joke in our marriage that if it’s not on Outlook, it’s not gonna happen. And that is mostly true. We go electronic and paper-free as much as we can. However, with three kids now in school, there are newsletters, invitations, homework, photos and art work that still happen. So much so, I feel like I’m drowning in papers. I do my best to filter to the ‘meat and potatoes’ but it’s always there following me wherever I go. I came up with my own version of a command center to cater specifically to our exact needs at this season of our life. I know too well, that this will change as the kids get older, but for now this is what we are trying. Here was my process for coming up with what we needed, where, what size and WHY.

Step One- Make a List
I started by making a list of what we really needed. It wasn’t as much I was thought. My suggestion is to keep it as simple as possible or else you won’t use the “system” if gets too complicated. Here is what I knew we needed:
Folders for loose papers that the kids could access to put homework, parent letters or anything that required “action”.
A magnet board for photos and party invitations, lunch menus, art or anything needing “display”.
A chalk board for any “written” reminders.
Something decorative because why not.
When I was perusing Pinterest and other images of command centers, I found many things that were great ideas but not what we needed. I’m listing them here in case they might work for you.
A calendar (we go 100% electronic here). We’ve tried a central calendar but we never used it the schedule changed so much on the go that there was no point. For us.
A clock- our command center is in a mudroom tucked in a corner where it wouldn’t help us. We did put a digital clock by their bedrooms which has helped a ton for the school morning routine.
White erase boards and cork boards- great ideas but redundant to the chalk board we already owned.

Step Two: Measure and Shop
Measure the total space and don’t forget to allocate for spaces between the pieces. We had a really unique situation in that we have an electrical panel on the wall that we were doing the command center. We needed to cover it up so that was a fun twist to the puzzle. The area is also behind a door in our mudroom so the depth of things on the wall was also a consideration.
Step Three: Lay it Out
Step three was to lay out everything on the ground to see what was working and more importantly what was not. There is nothing worse than drilling holes only to find out you don’t like the way it looks once it’s all put together.
Step Four: Start Commanding
This part comes very natural for me. Joking aside, get the kids involved. We make our older two empty their backpacks and give us any necessary paperwork from school. The plan is that this will now be in the wall folders instead of our kitchen counter. Stay tuned.
Below is the shopping guide and links for what we ended up with. A couple things to point out.
The chalk board comes in multiple sizes and is a STRONG magnet board as well.
The chalk pens work a lot better than the traditional chalk IMO.
The pentagon cork boards actually stick the wall themselves which was our original plan. That didn’t work out space-wise but I loved how they looked so I used them by clipping them to the chalk board. More decorative here than functional. But they would be great to use on walls alone as well. We used the extra on our kid’s closet doors for artwork. (comes in an 7-pack).
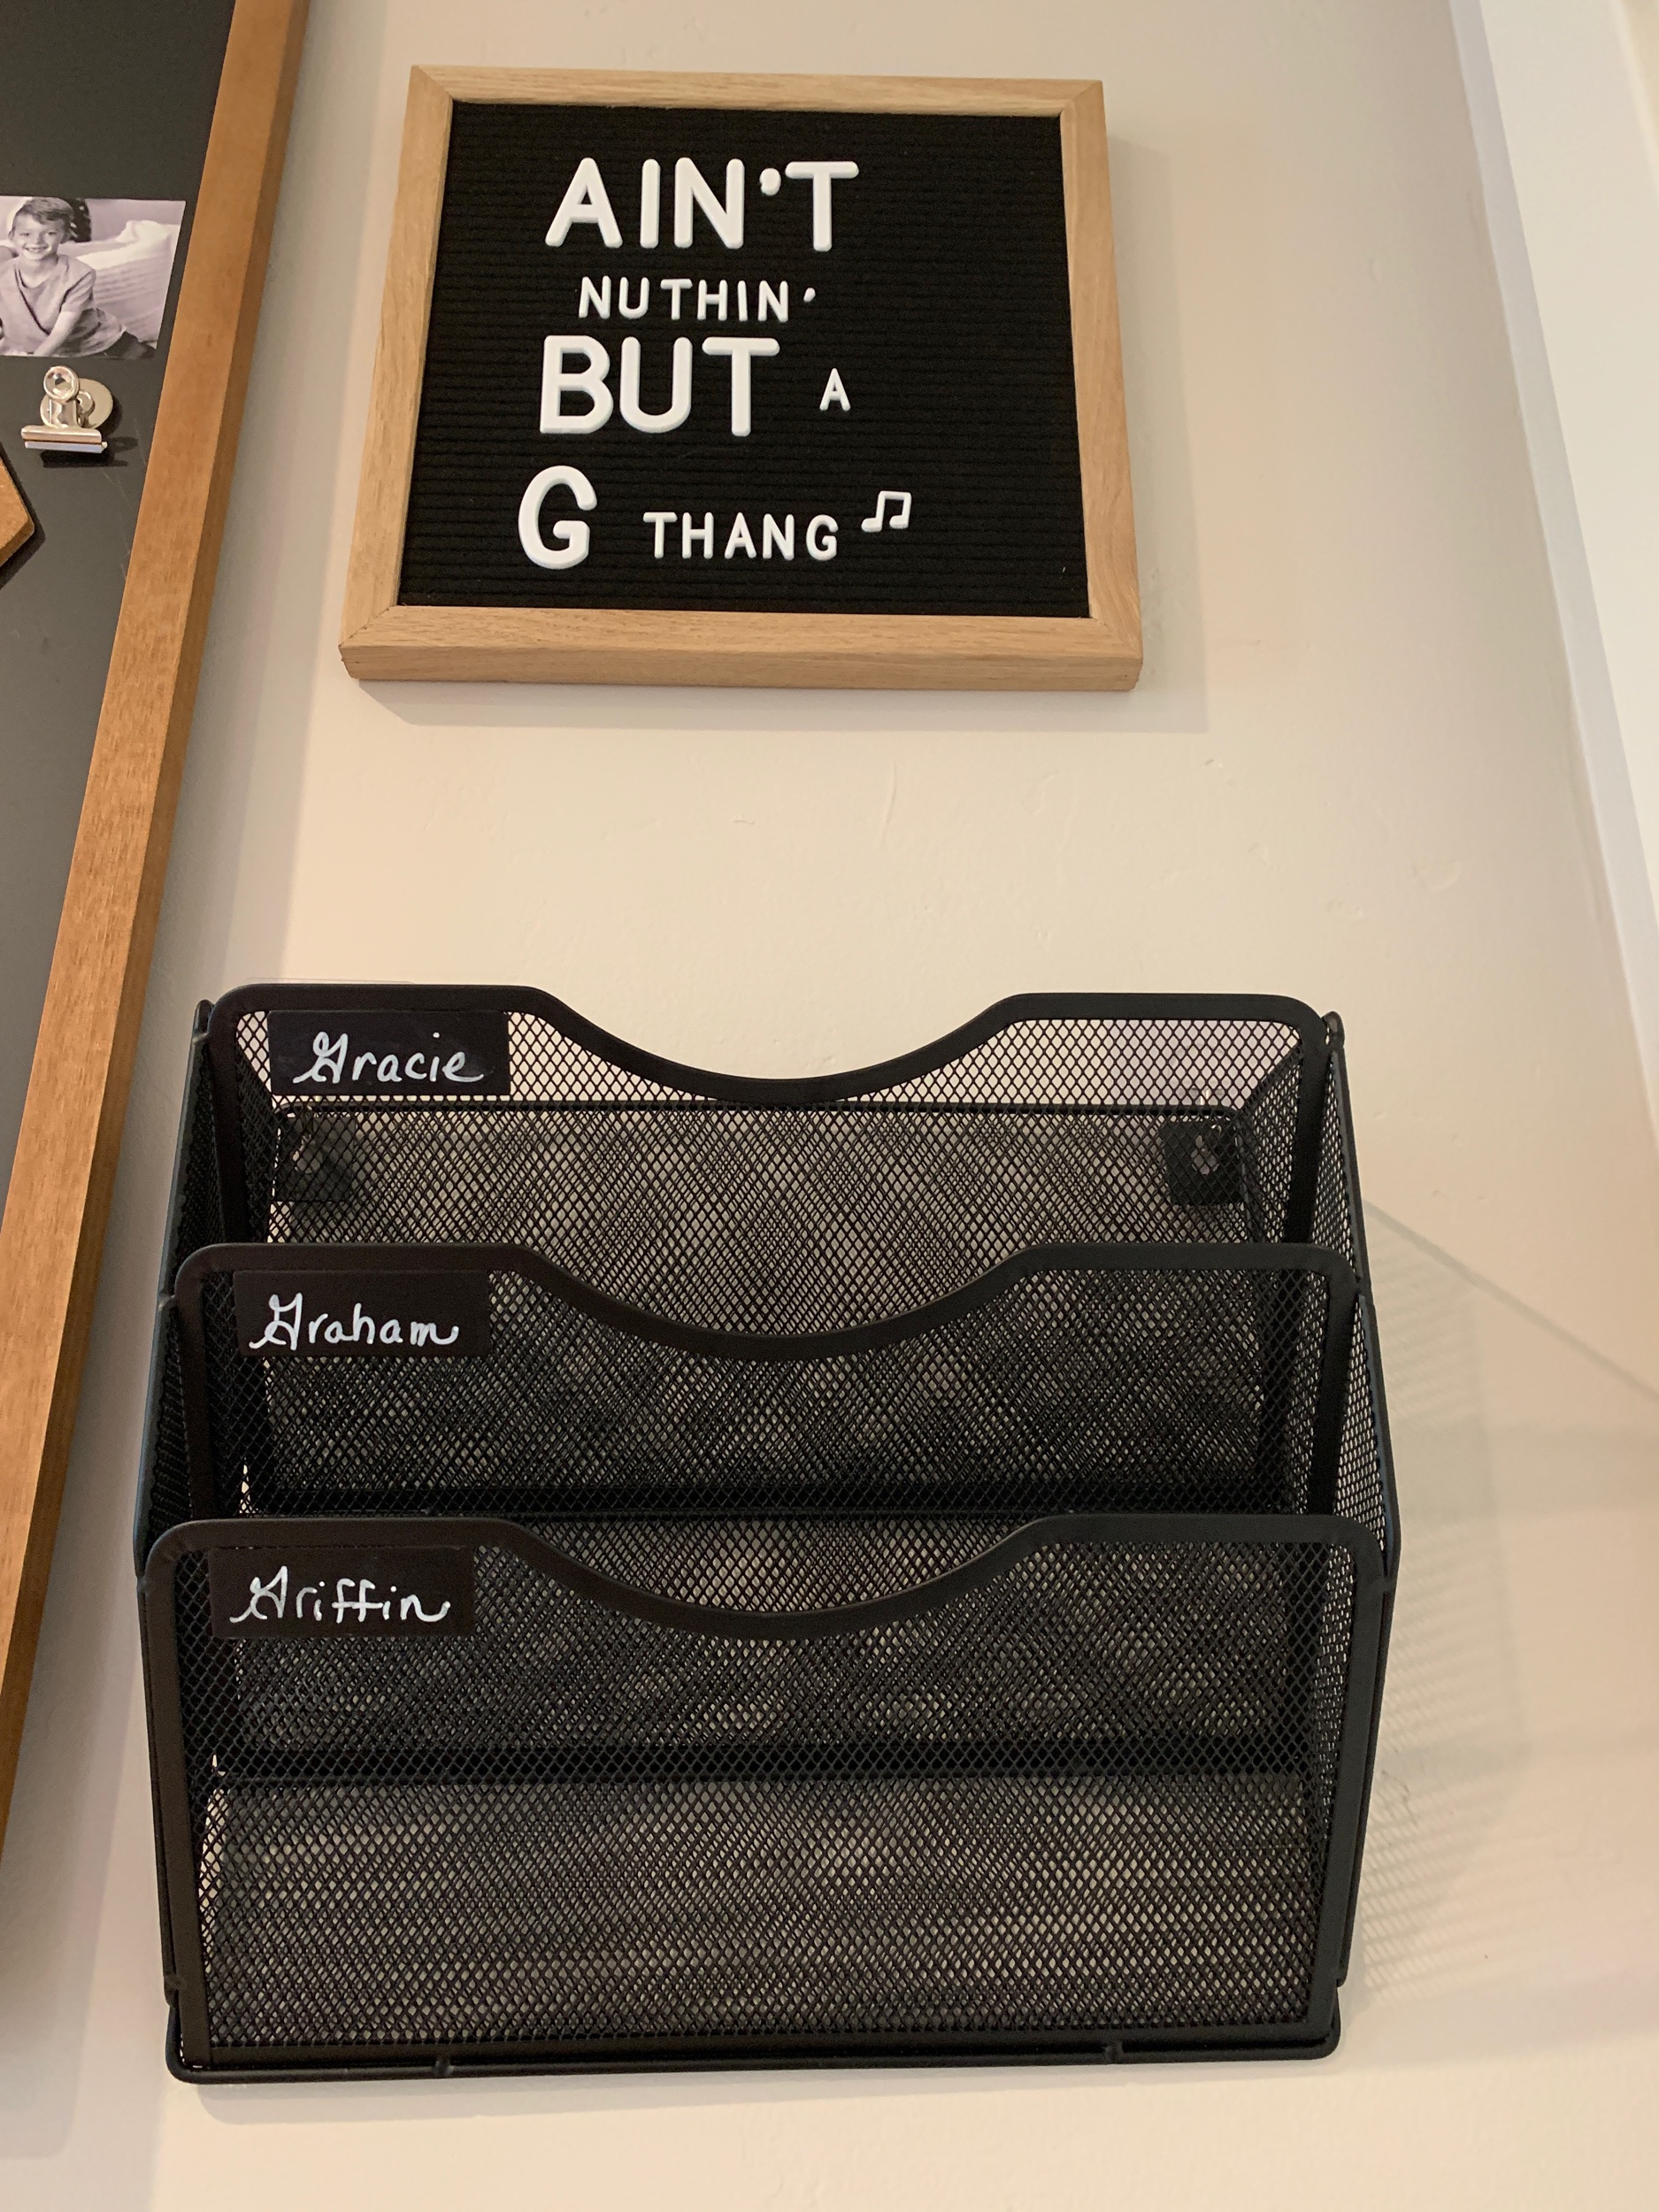
The letter board is double sided with different colors and is designed to sit on a counter using a stand. It also came with both large and small letters which I thought added a nice dimension. If we need to take it off the wall for a party or an announcement it’s nice that it can serve double duty. P.S. The 90’s rap reference relates to the fact that all three of our kids names start with the letter G. It’s my house and I will DORK out if I want to.
The damage free hooks ARE NOT MEANT FOR PAINTED/POWDER WALLS. But I am rule breaker. Here is the story behind these. I did not want to use screws because I am a commitment-phobe. I found these super strong hooks that are designed for tile, glass, metal, wood or plastic. You have to use a hairdryer to warm them up before you remove them, and even then, it takes some effort. They are AMAZINGLY strong and I’ve used them on walls before with NO damage, but that was me living on the edge. Please use these at your own risk. They are fantastic for the shower but because they are tough to remove, you need to know what you are signing up for BEFORE you stick. They come in a 8-pack for $7.


Good luck with the new school year mamas and happy COMMANDING!
xo
Kim